|
|
|
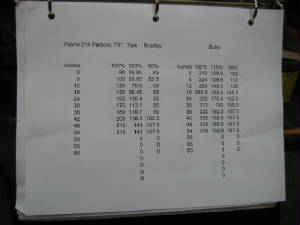
| Start with a good plan. I use my own Progressive and Paul Youngs Parabolic tapers |
|
|
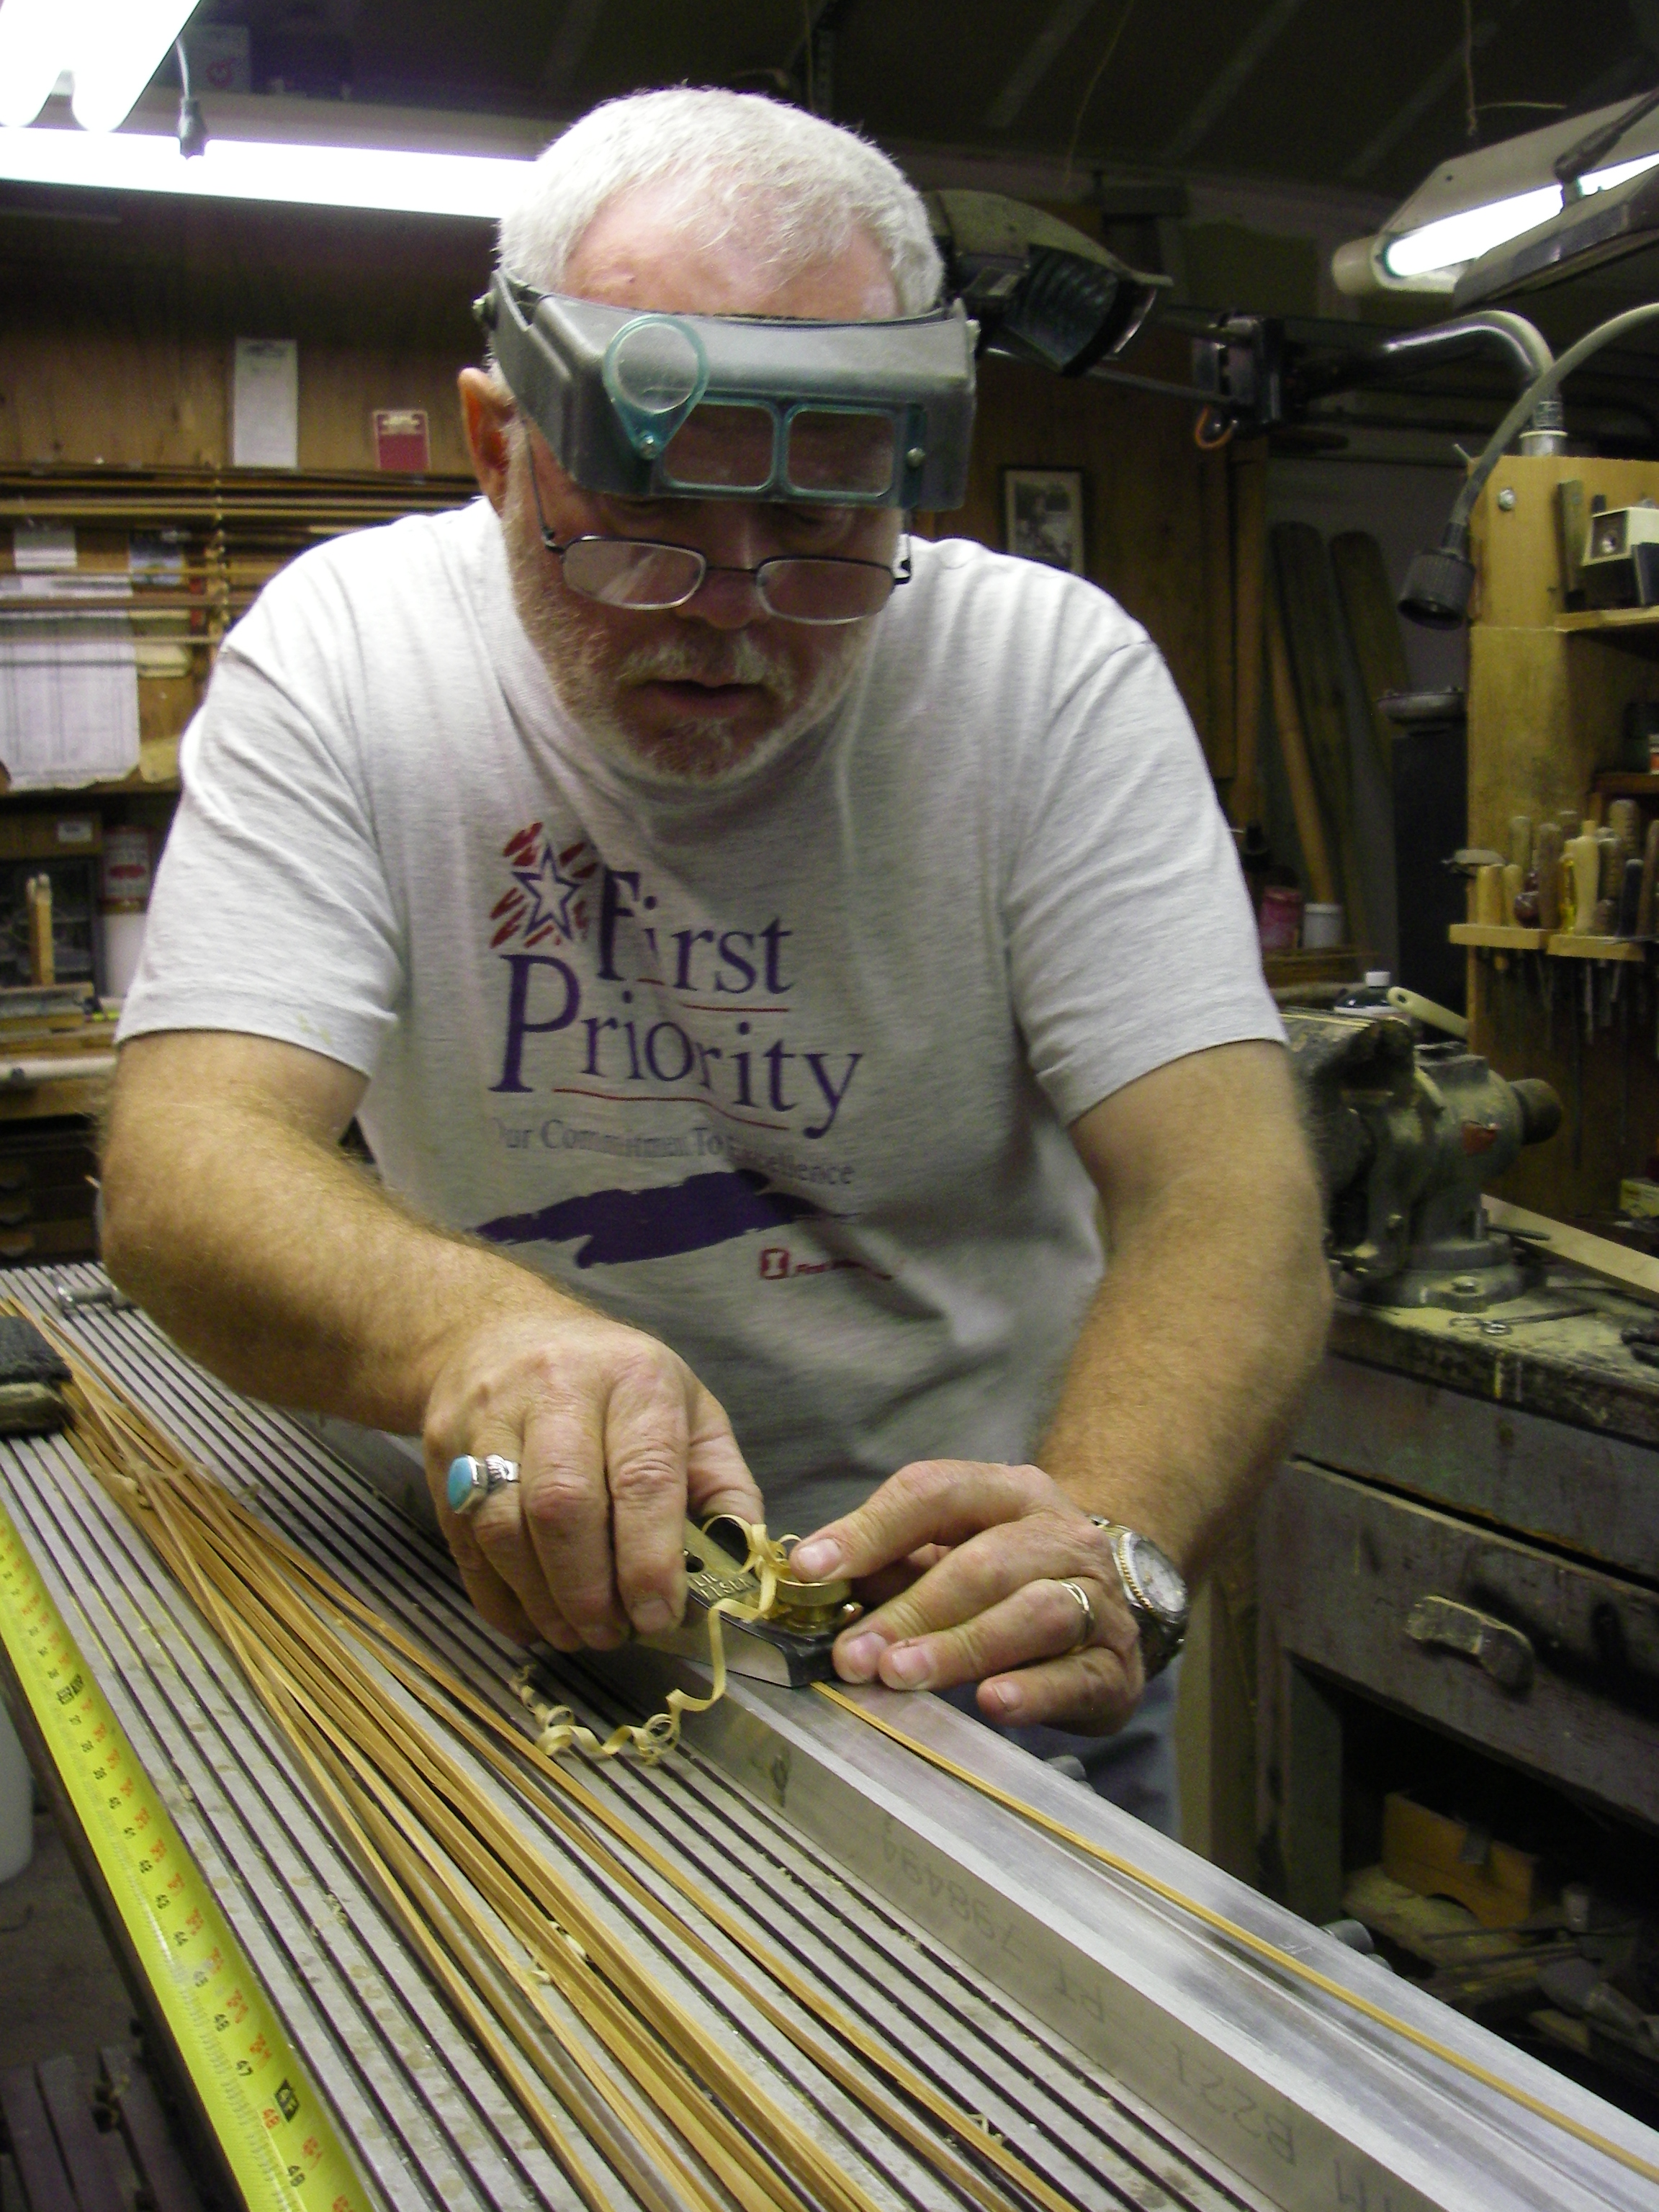
| It will take three different planings to make one strip. This is the first cut. |
|
|
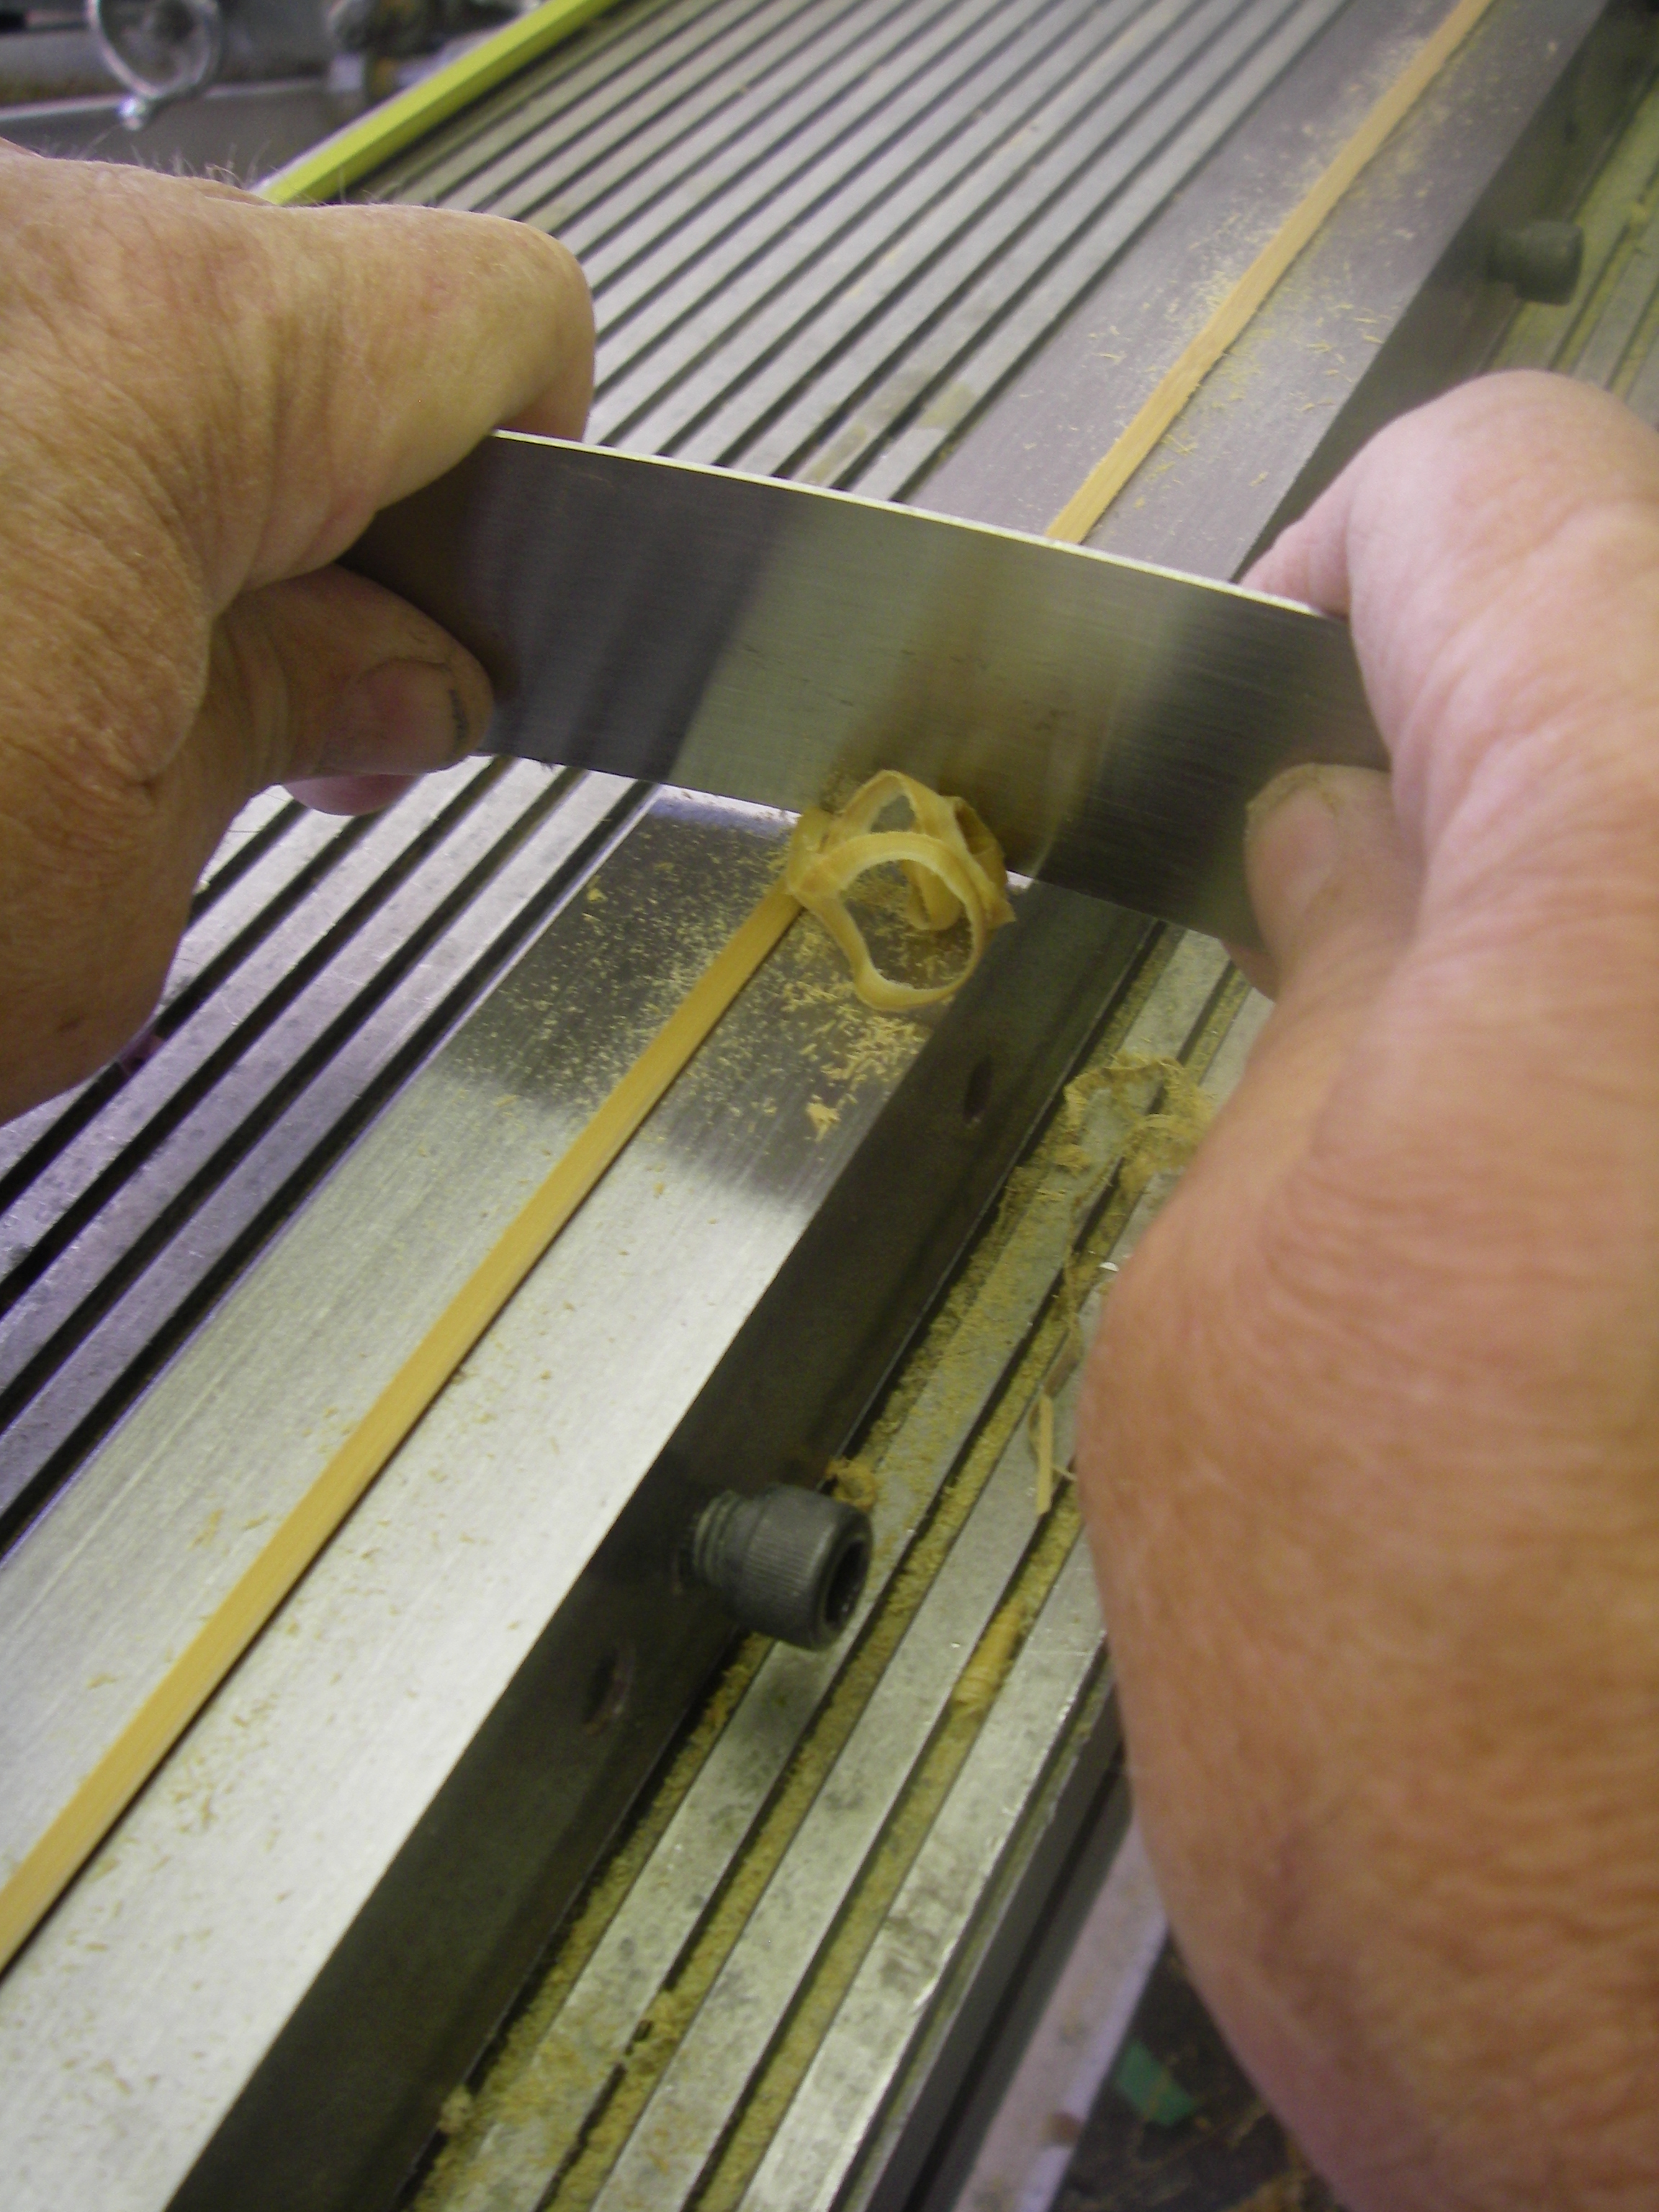
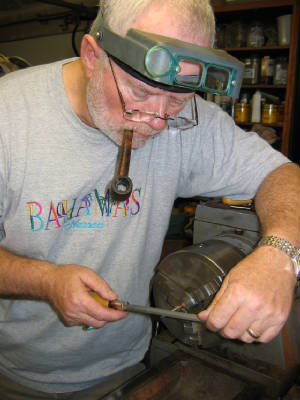
| you need to be able to take a .005 cut |
|
|
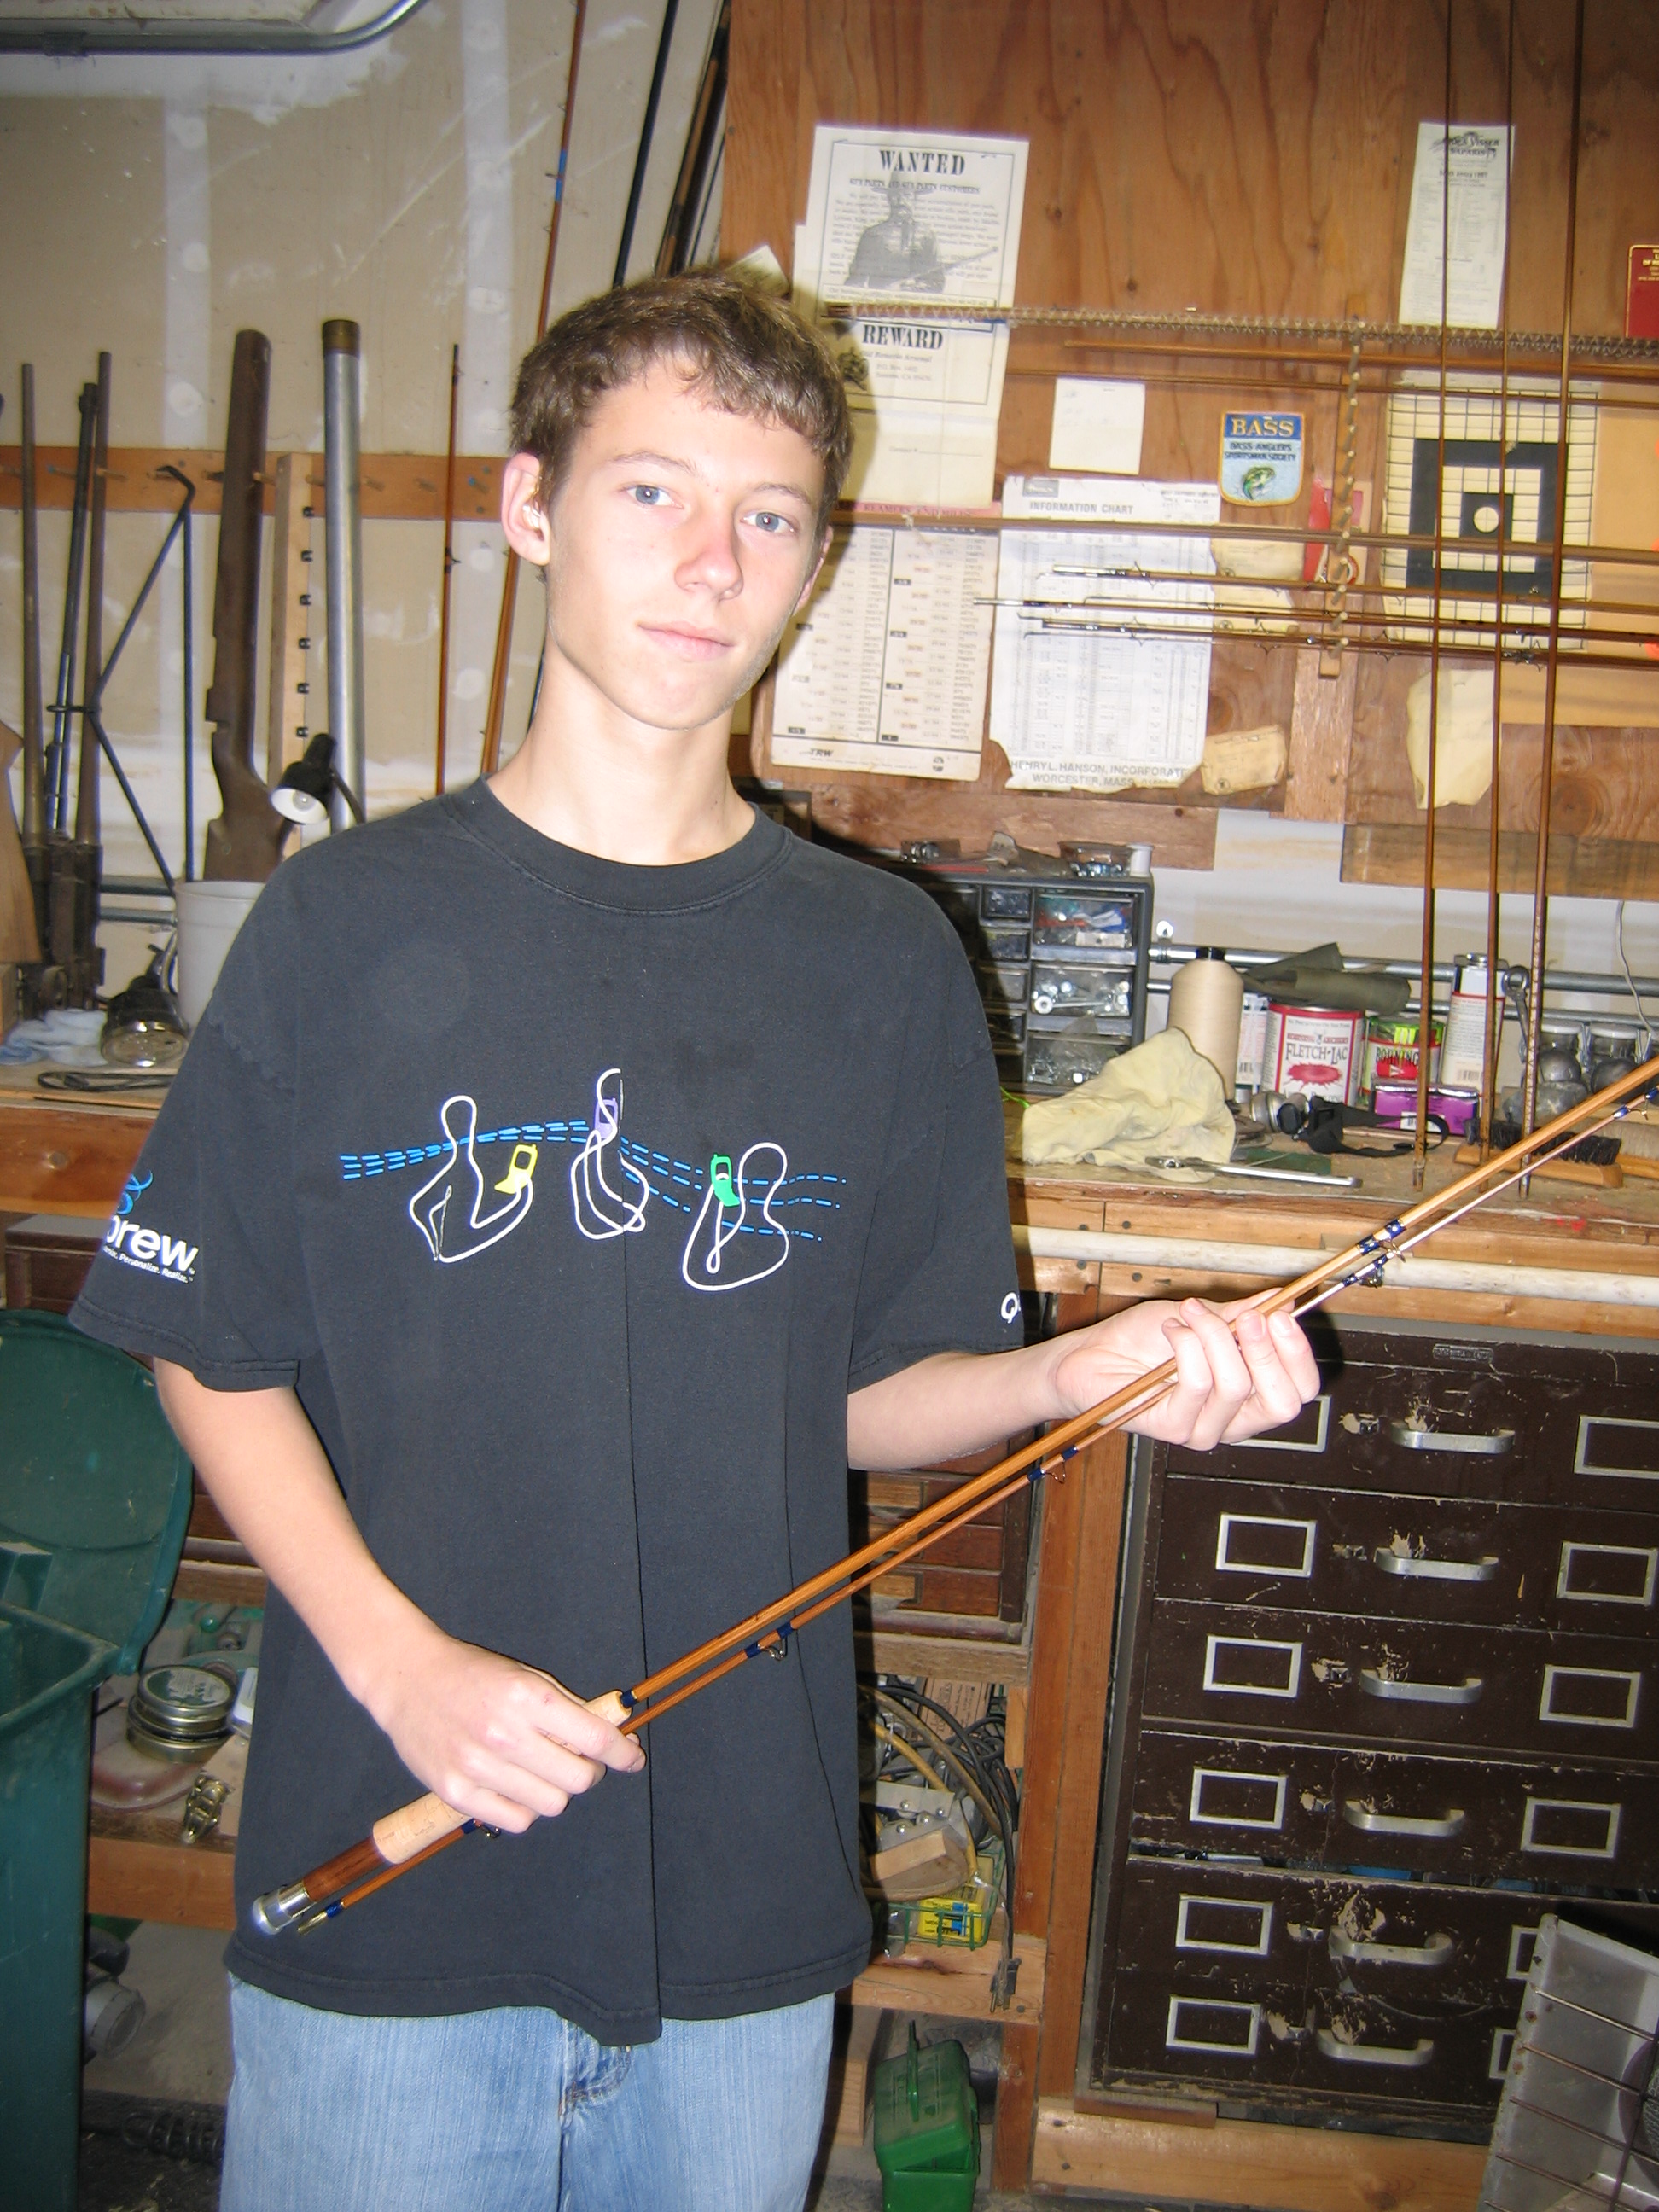
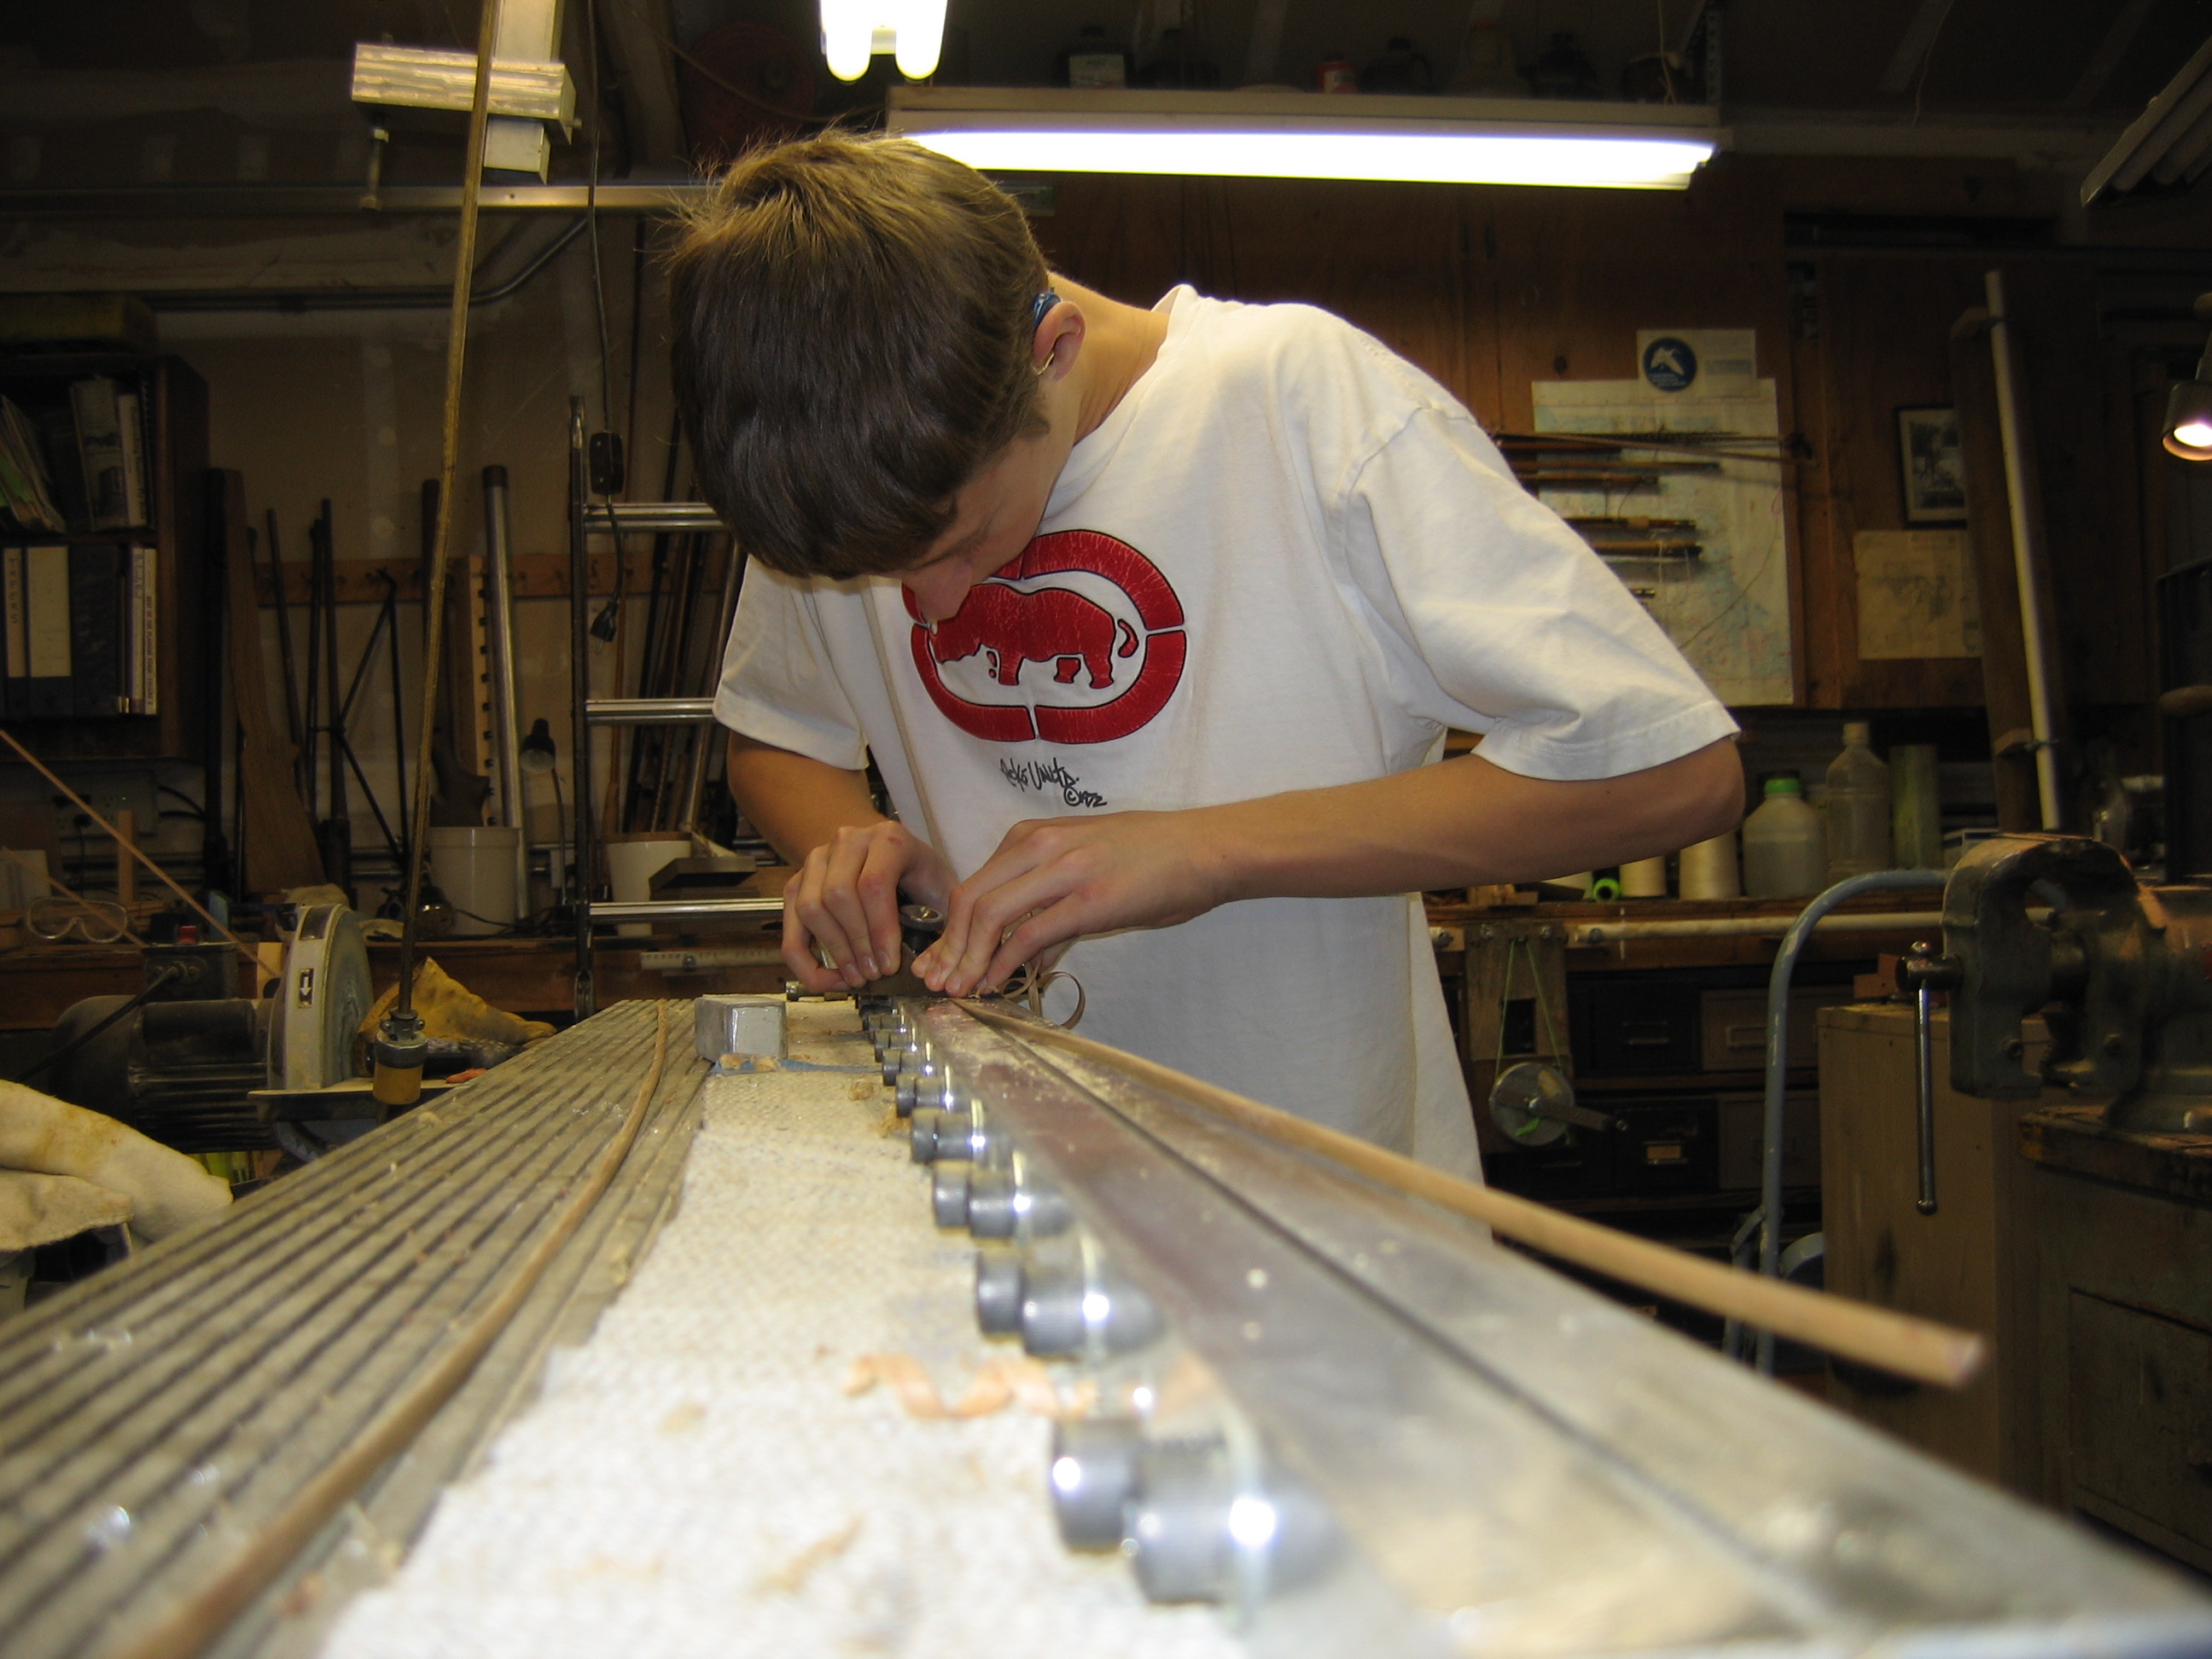
| This is my grandson Bradley with his first rod and I hope there will be many more |
|
|
| Bradley made his first rod over Christmas vacation |
|
|
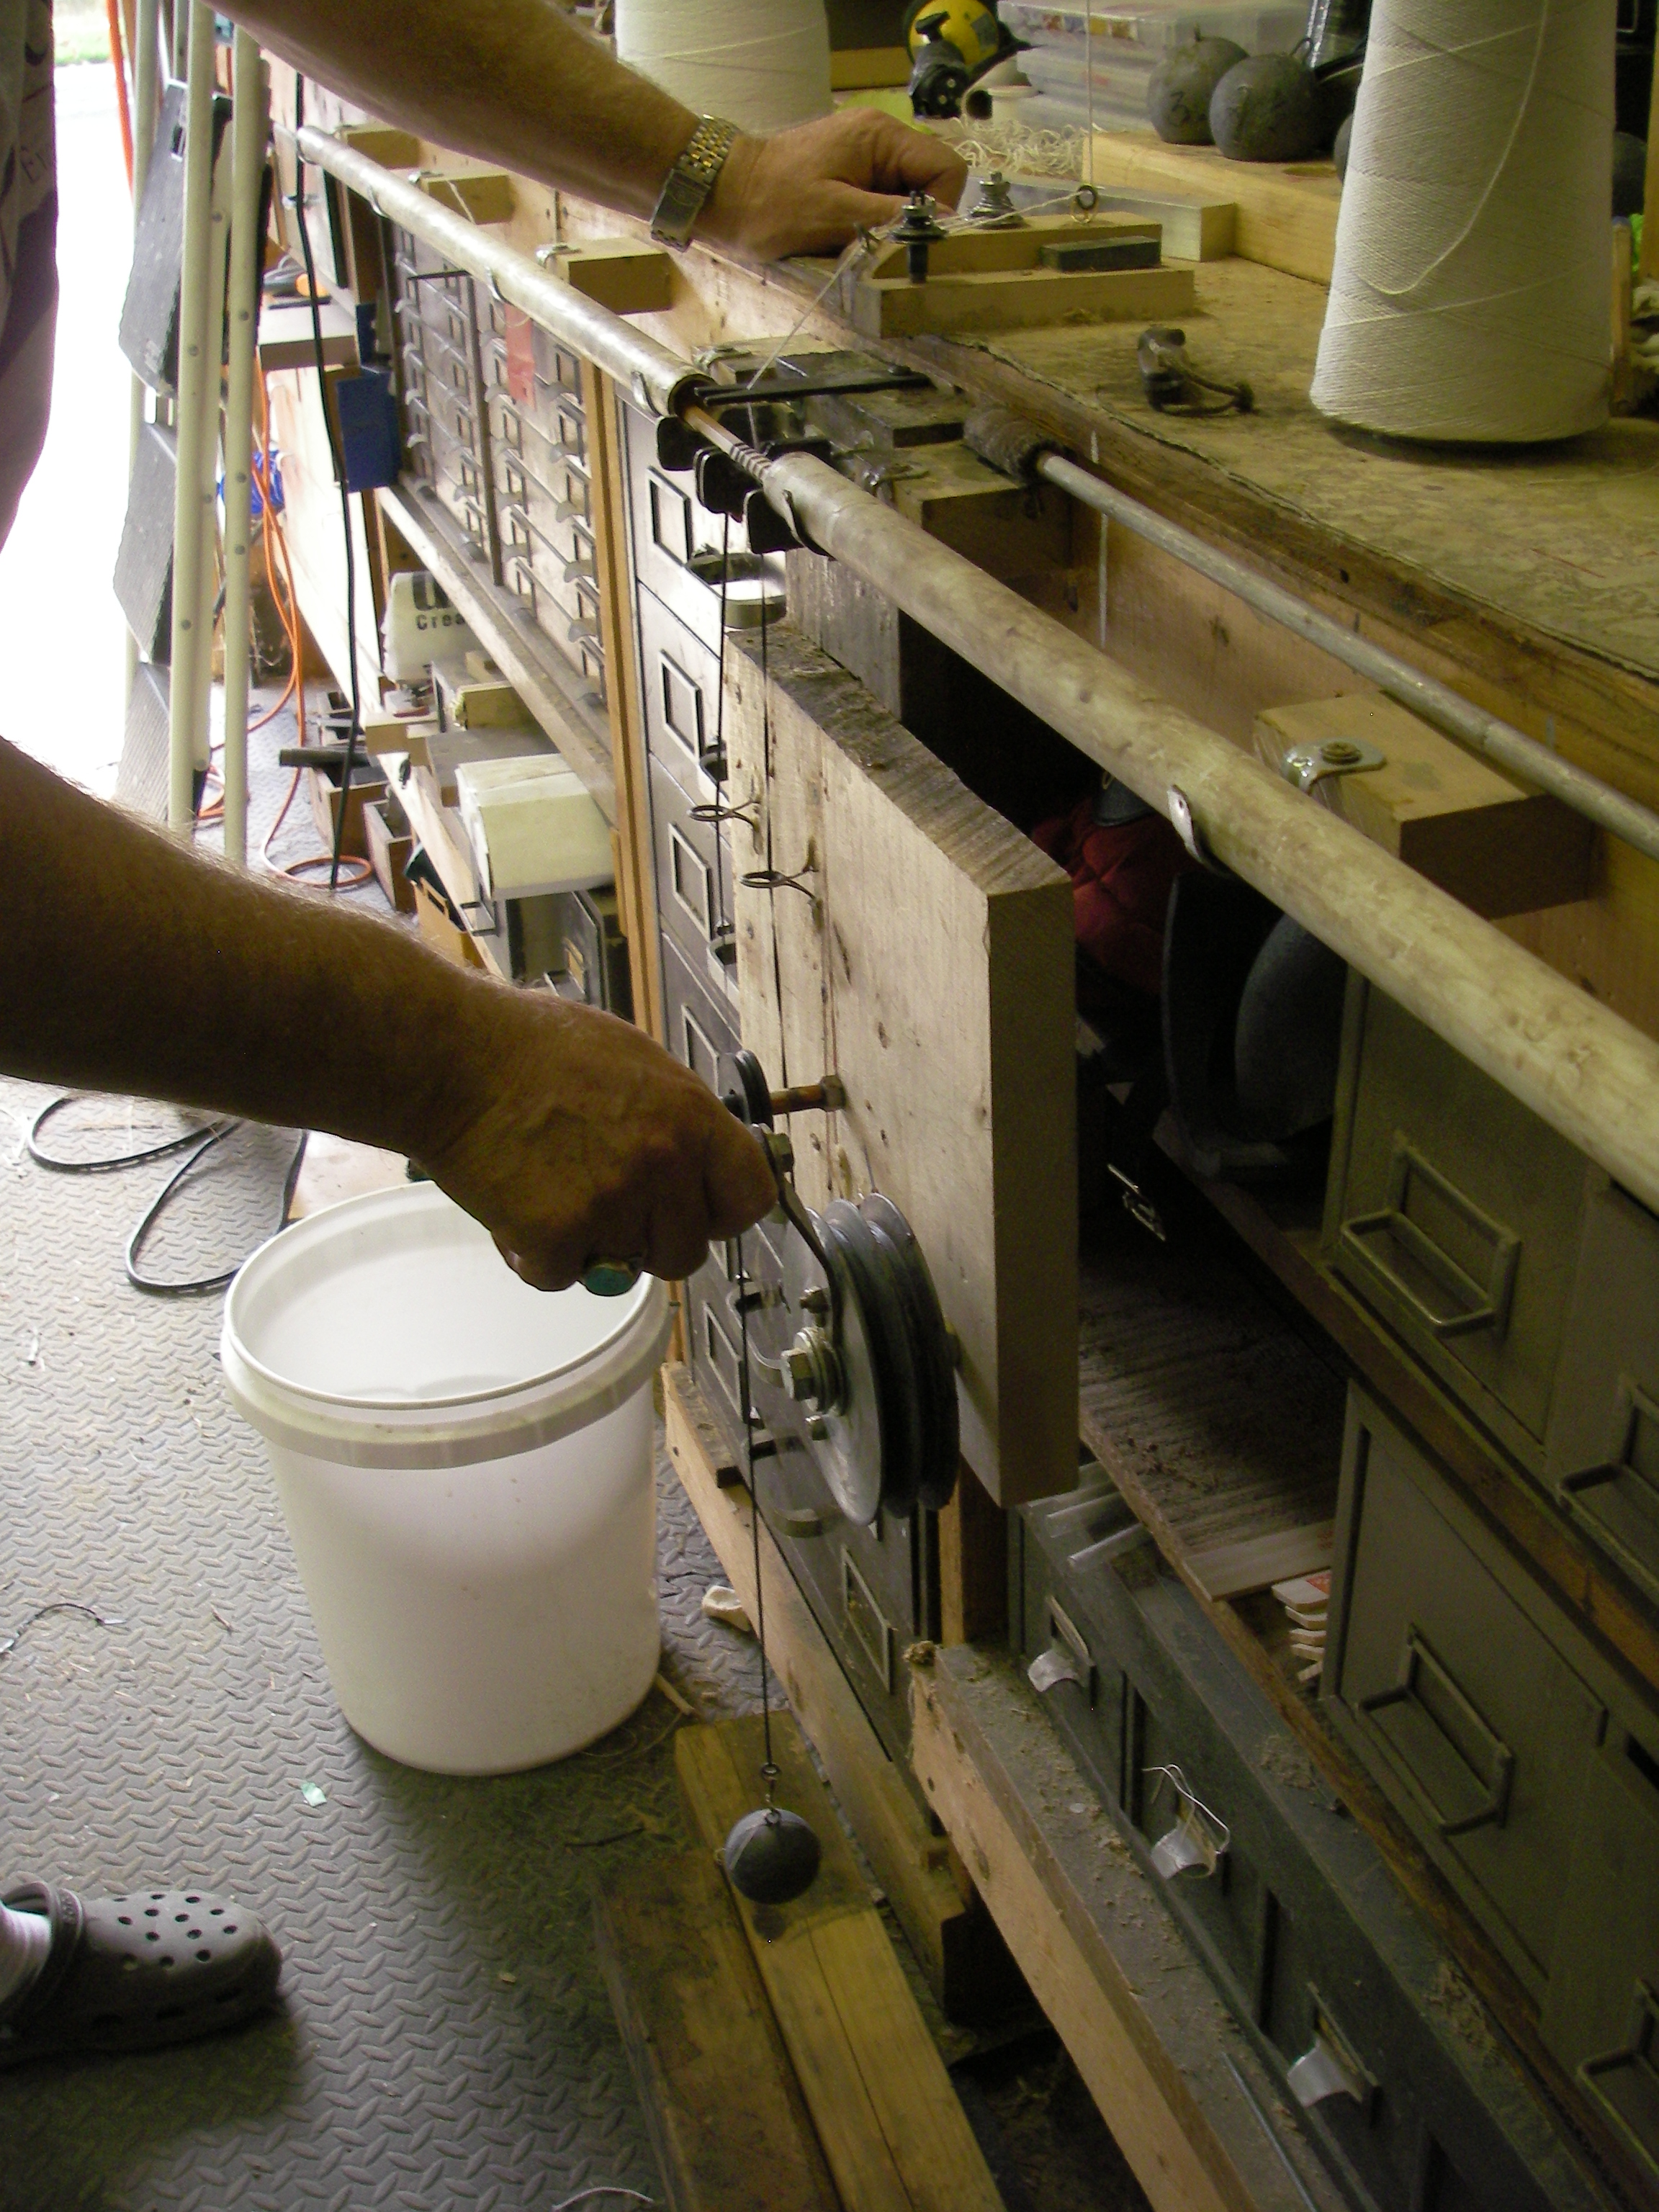
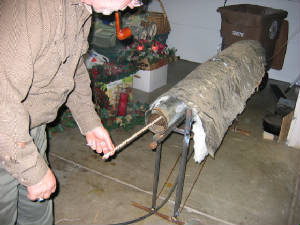
| At work at the glueing machine. I have boiled pieces of glued up rods in water without a failure. |
|
|
| One of eight coats of French polish finish. |
|
|
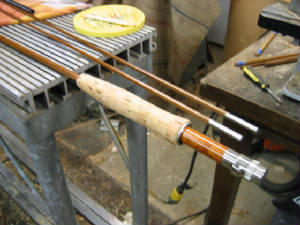
| Cork and reel seat ready for glue. |
|
|
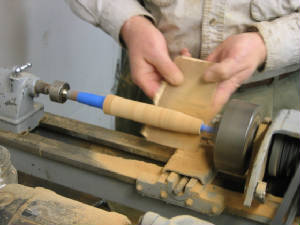
| Shaping the grip. I like the Payne style, although this is your choice. |
|
|
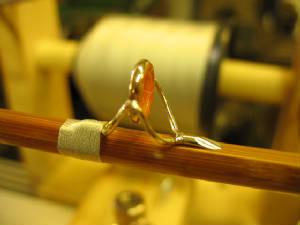
| This is the Brazilian agate striping guide. |
|
|
|
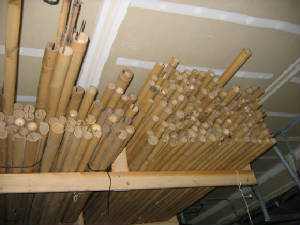
| All of my cane is over thrity years old, some was imported before the 1964 embargo. |
|
|
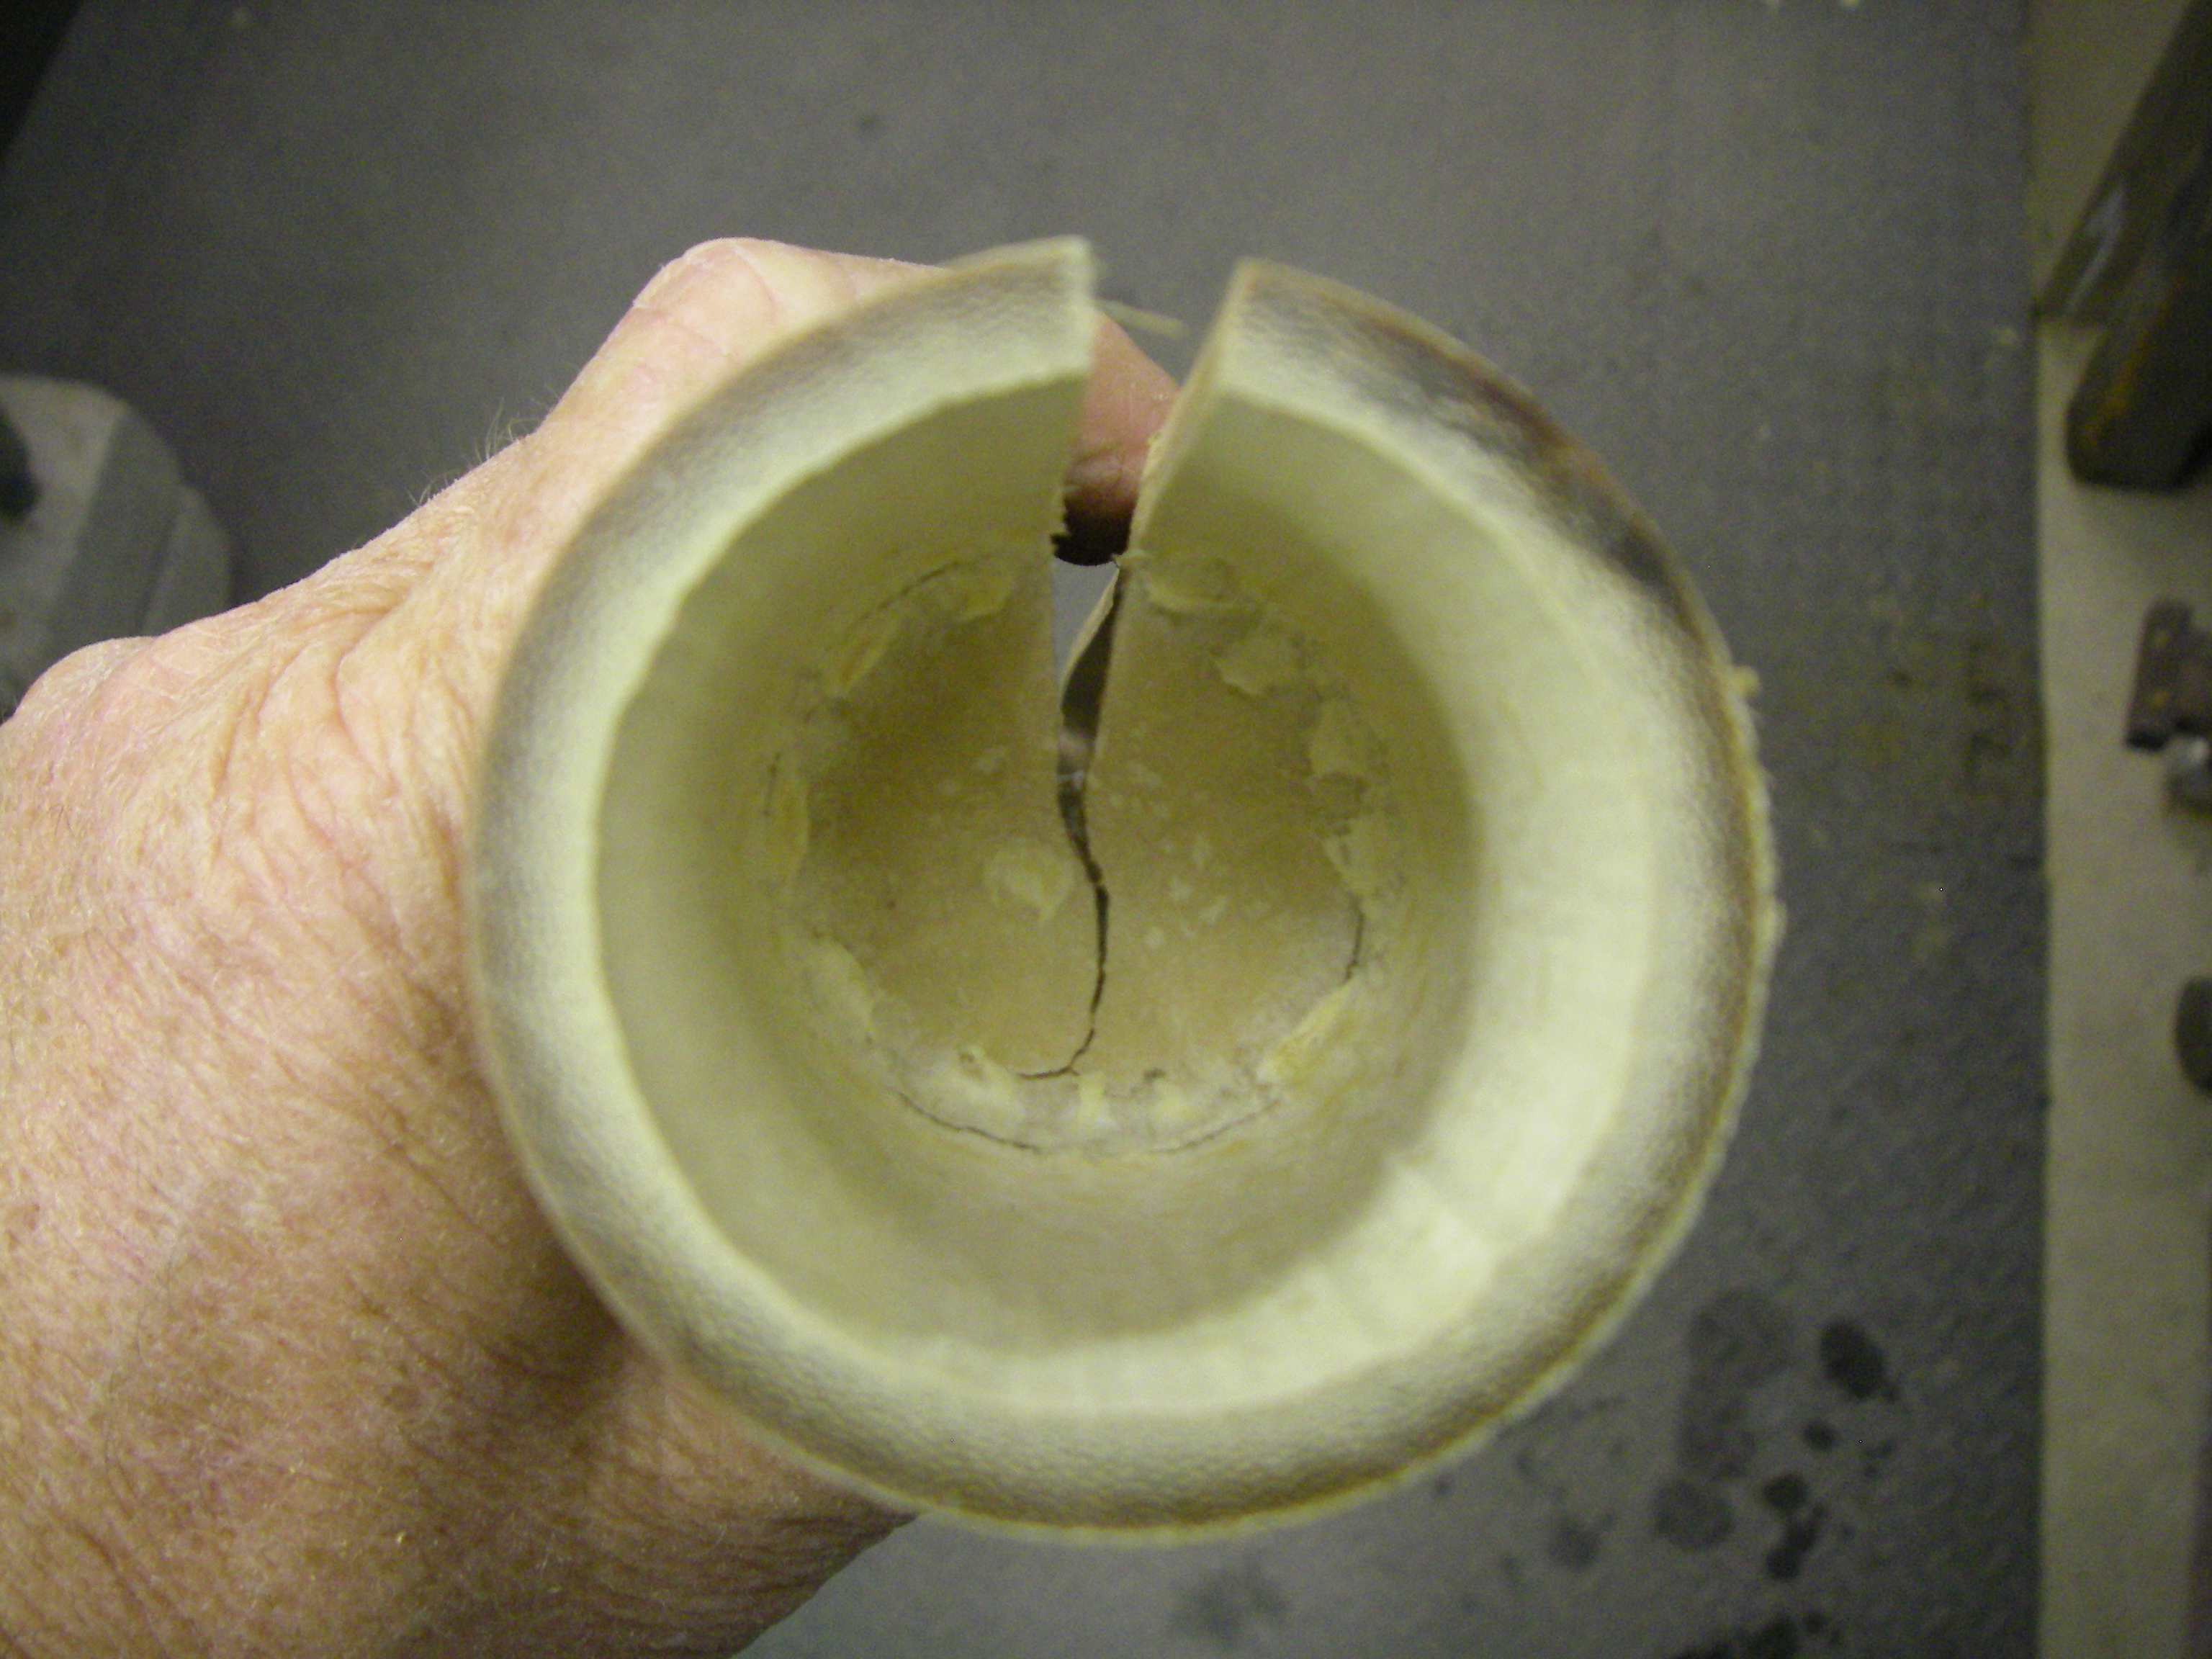
| This is where it all starts |
|
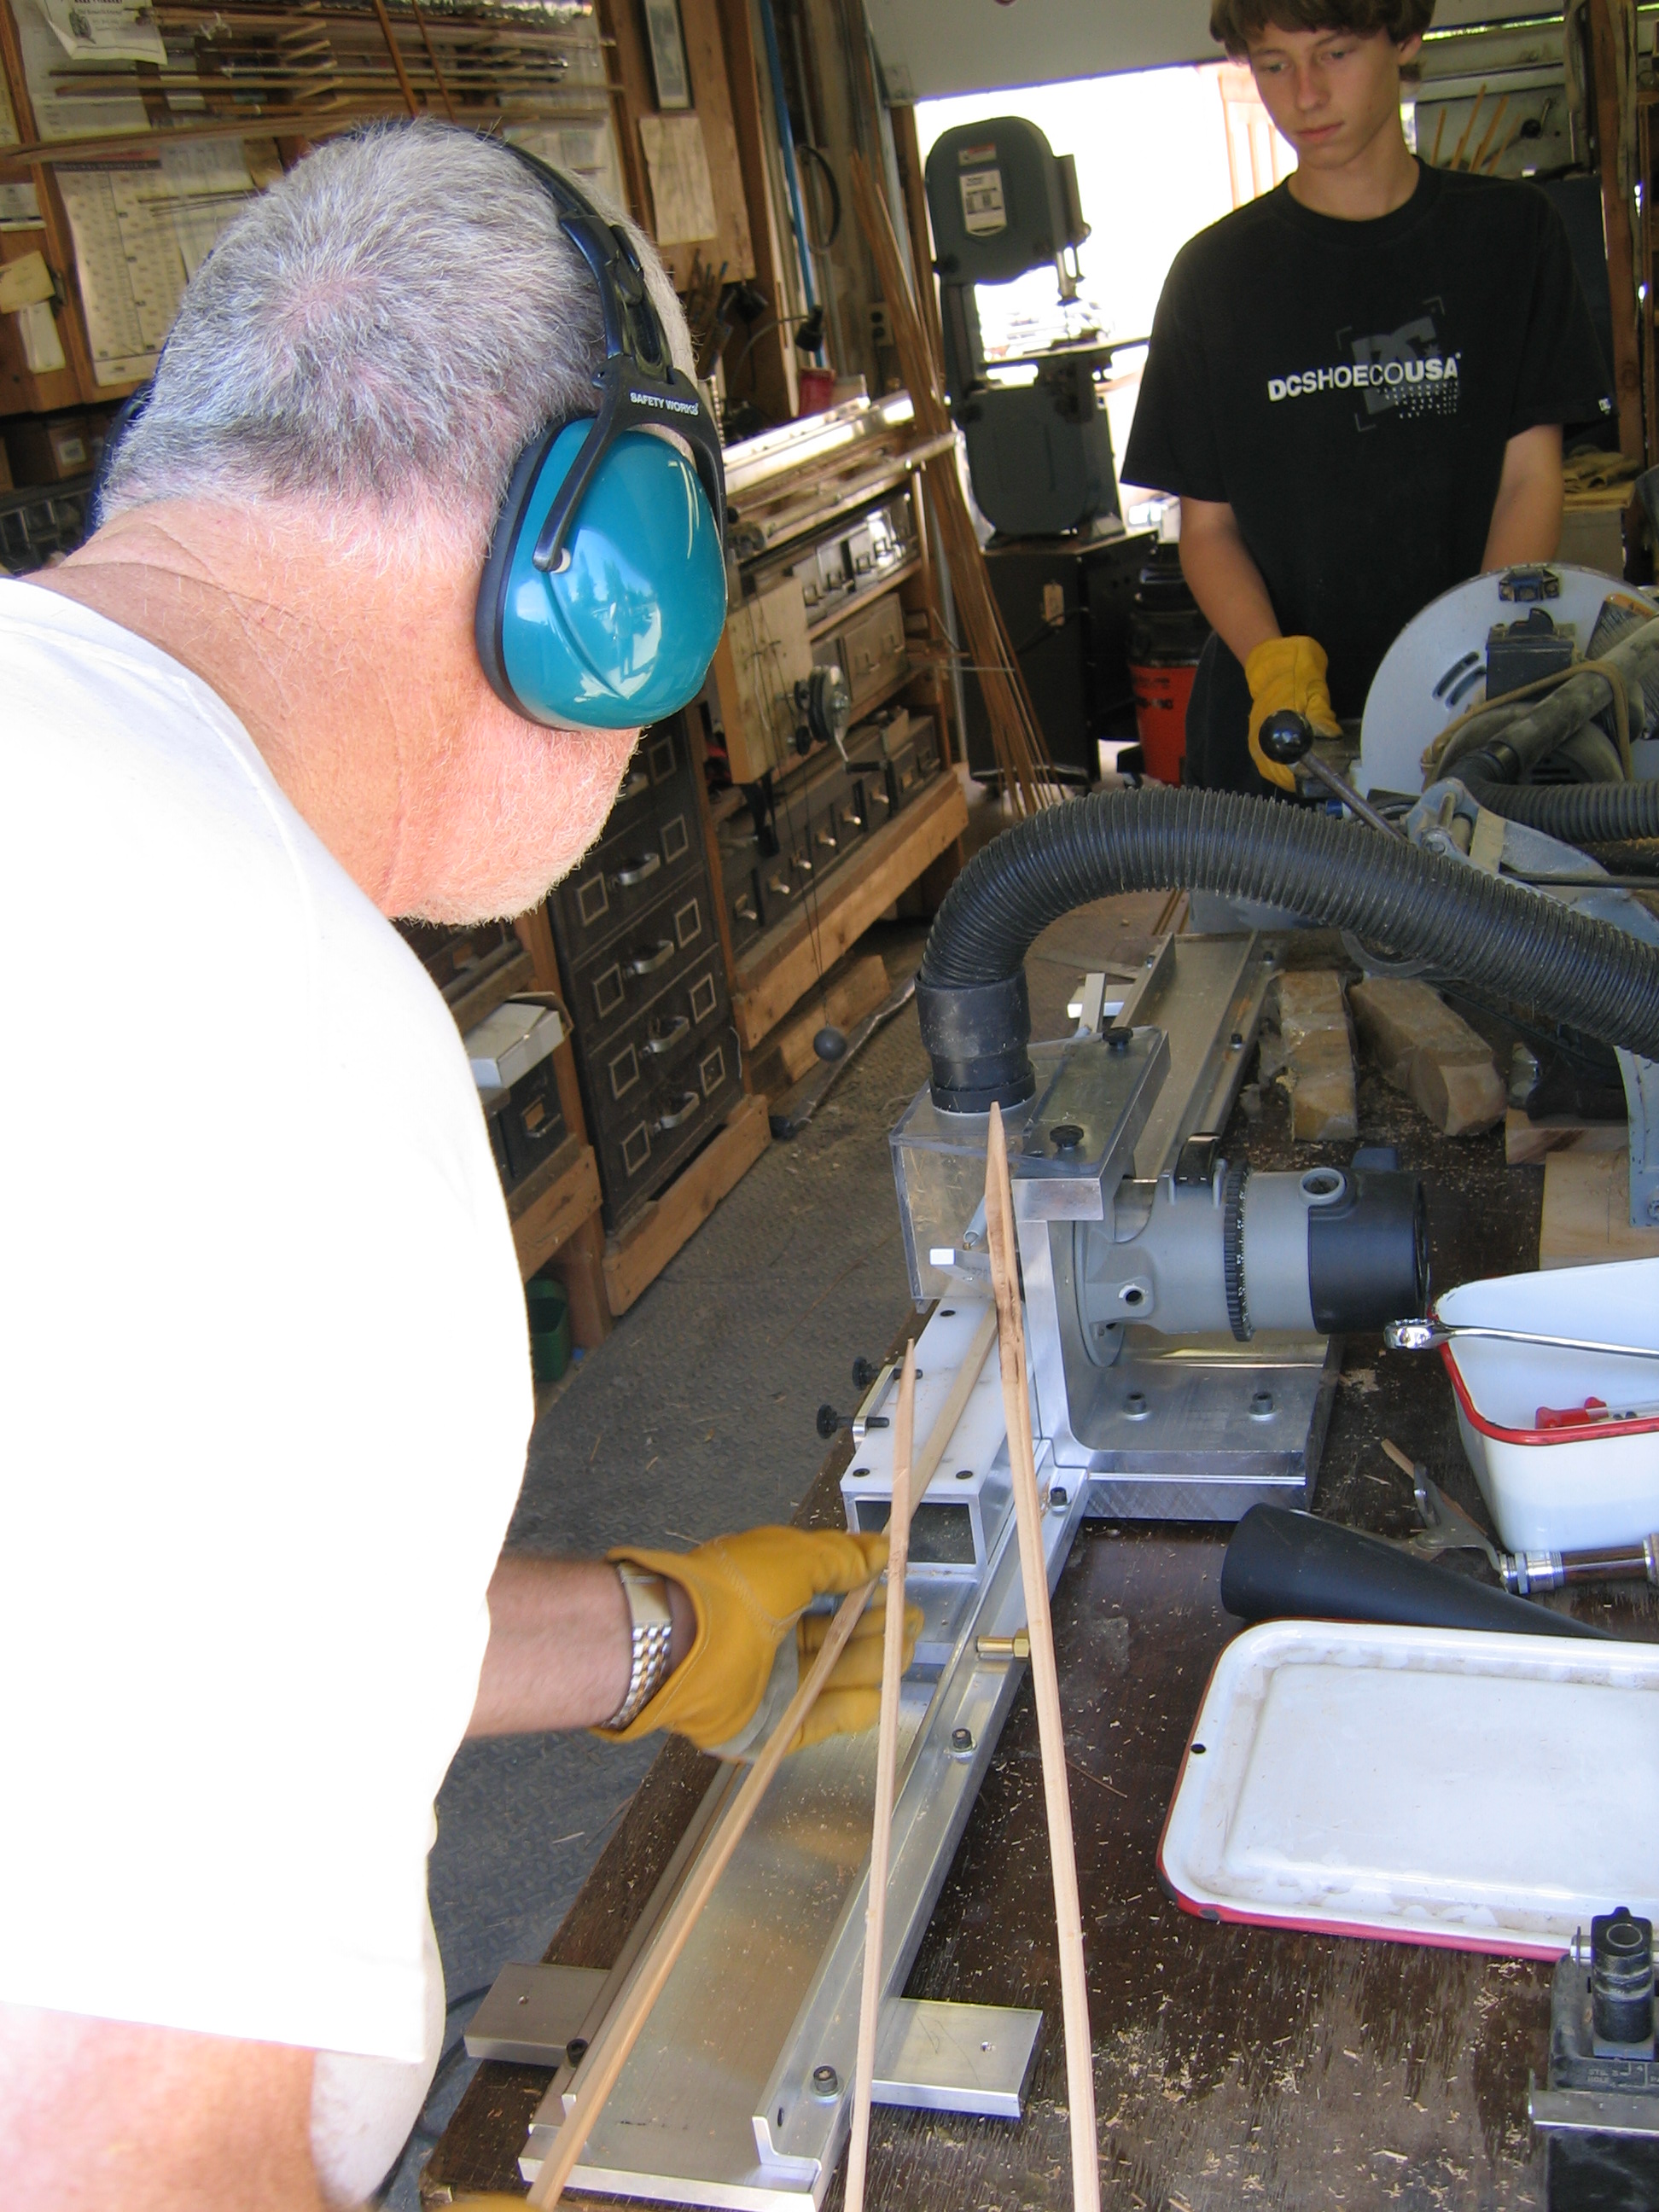
| Bradley our grandson, and I working at my beveler made by Bellinger Rod company. |
|
|
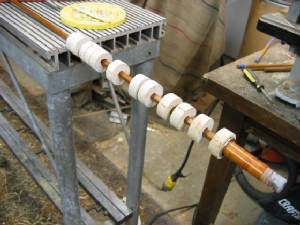
| There is an art to tempering. This is done before the final planing. |
|
|
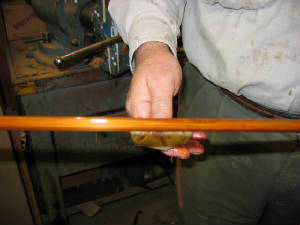
| Straighening the blank before the glue sets. Be quick. |
|
|
| The ferrules are ready for glue. |
|
|
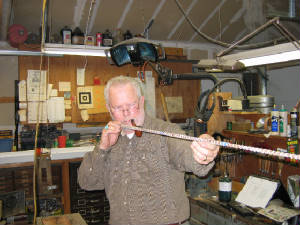
| Fitting the ferrules, it takes about an hour to do it right or three seconds to screw it up. |
|
|
| This rod is ready for guides. |
|
|
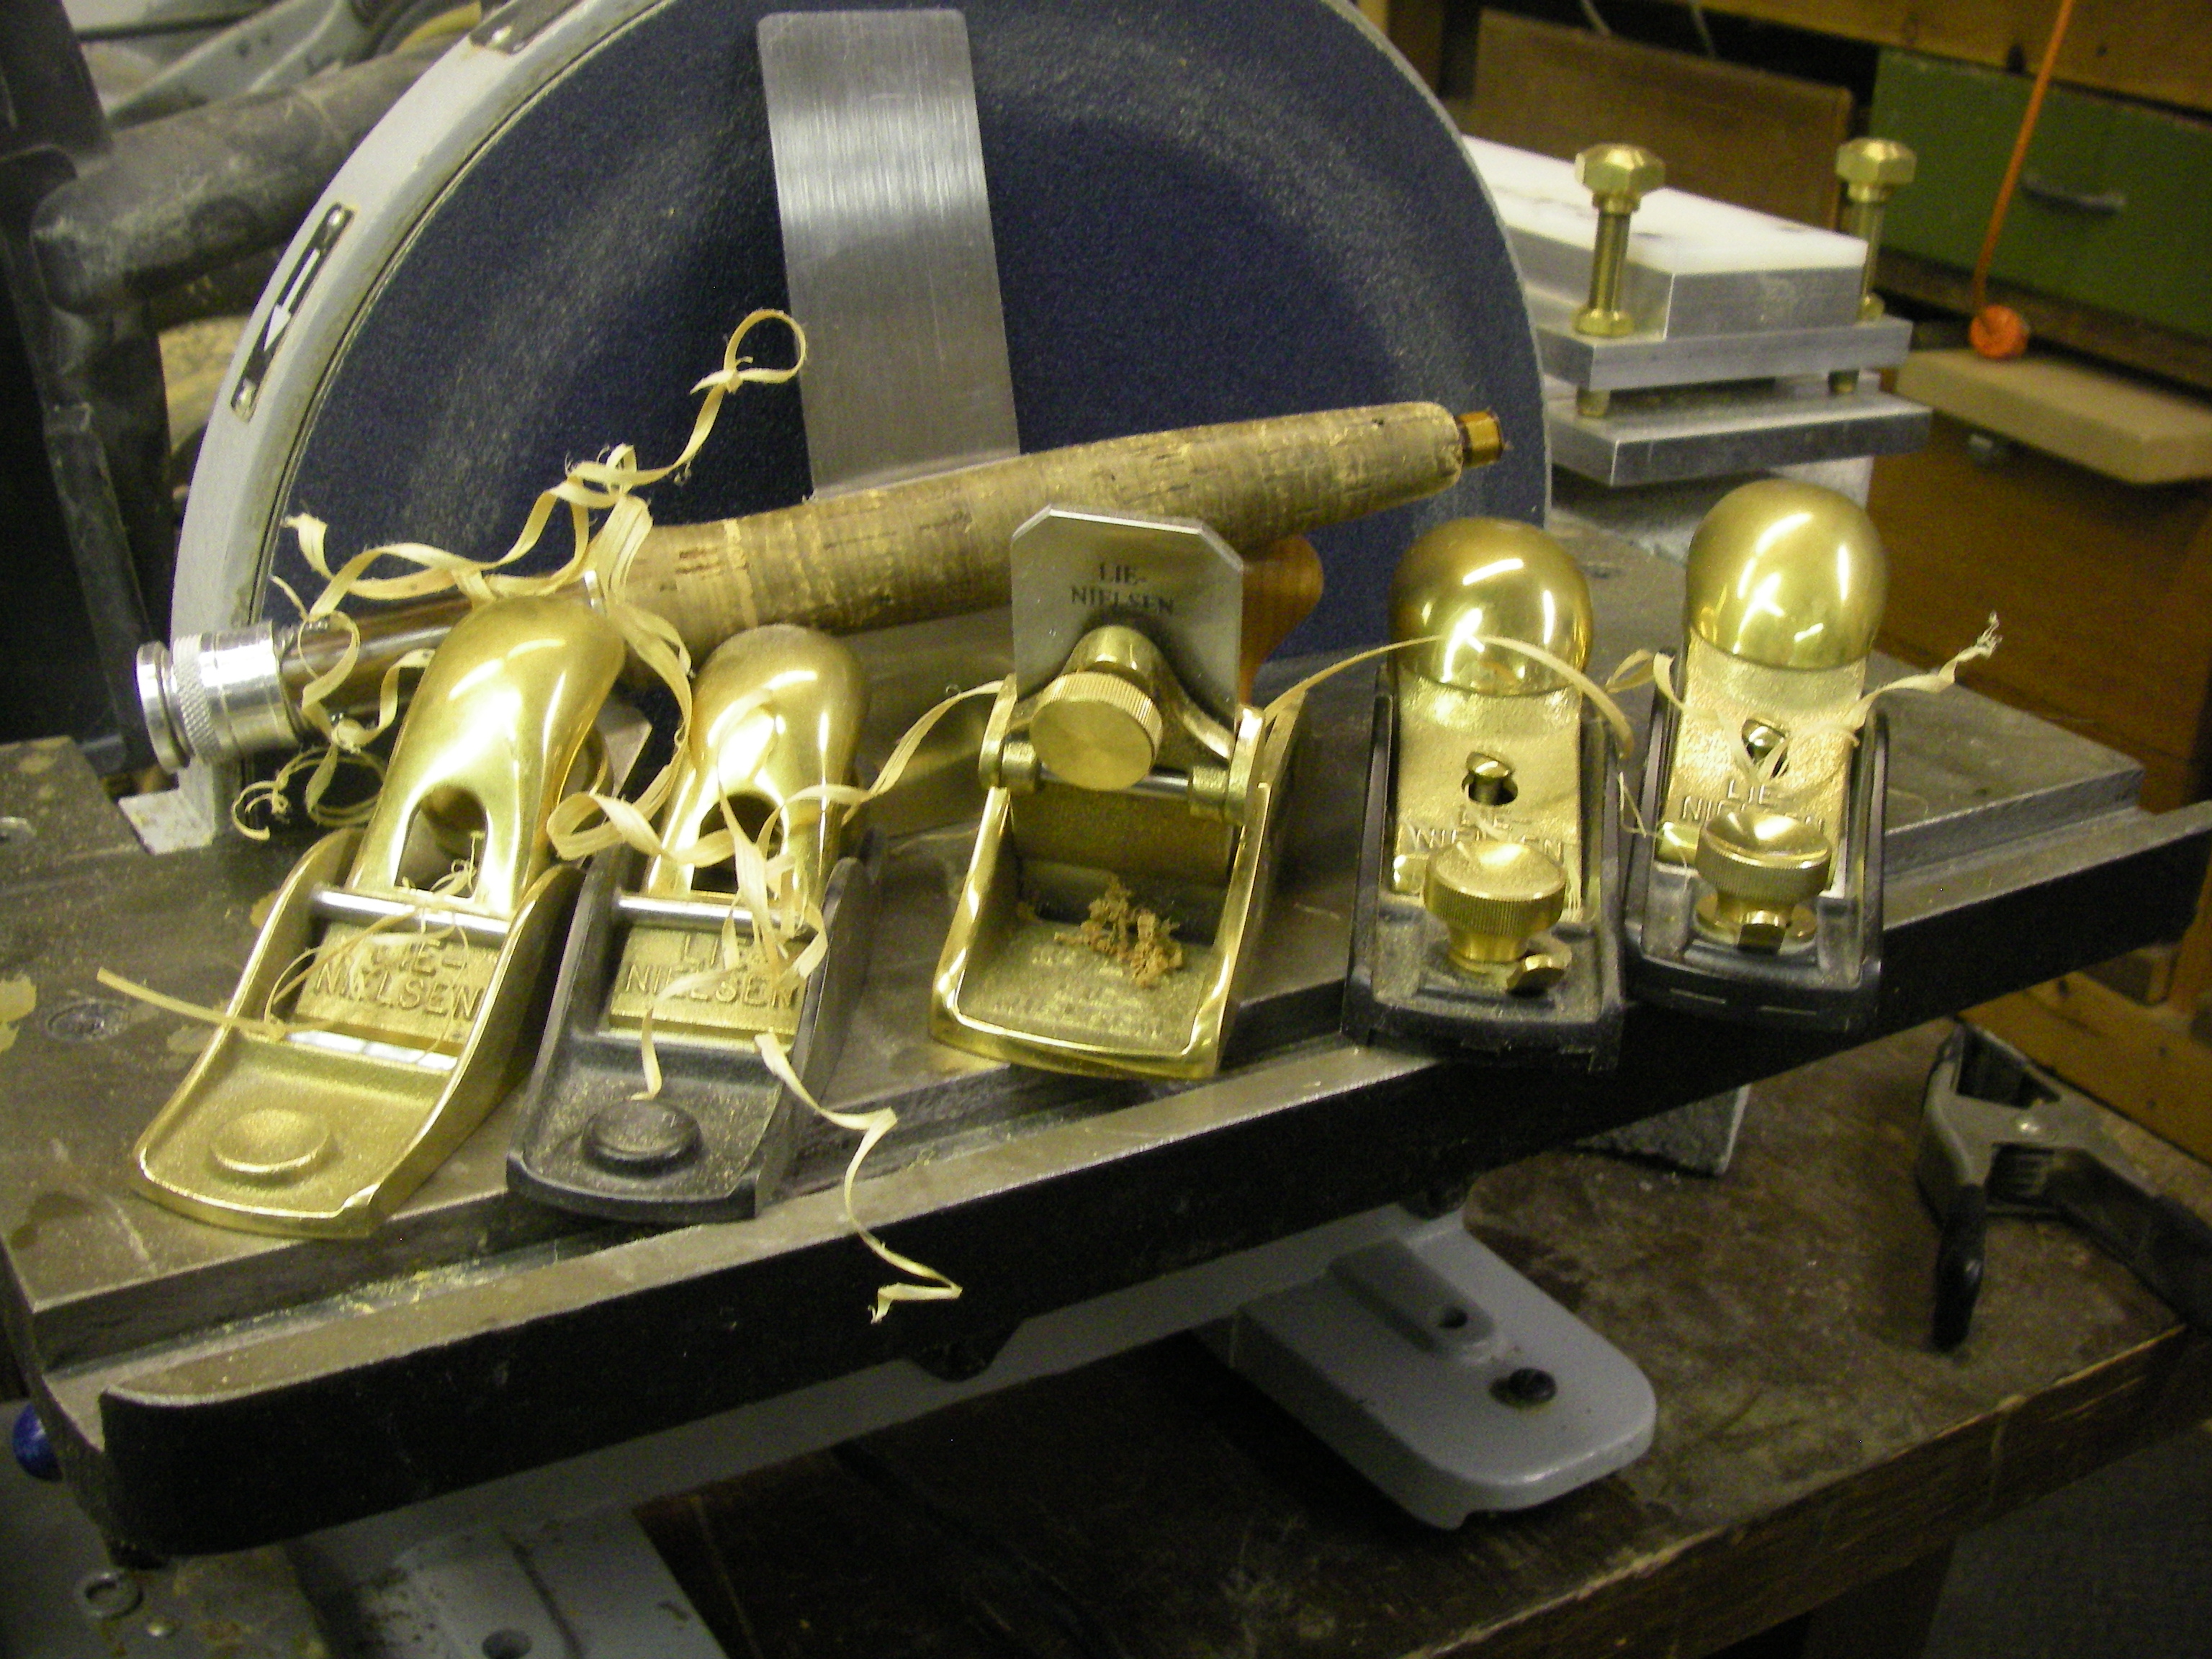
| You don't need all of these planes, but it's nice to have them |
|